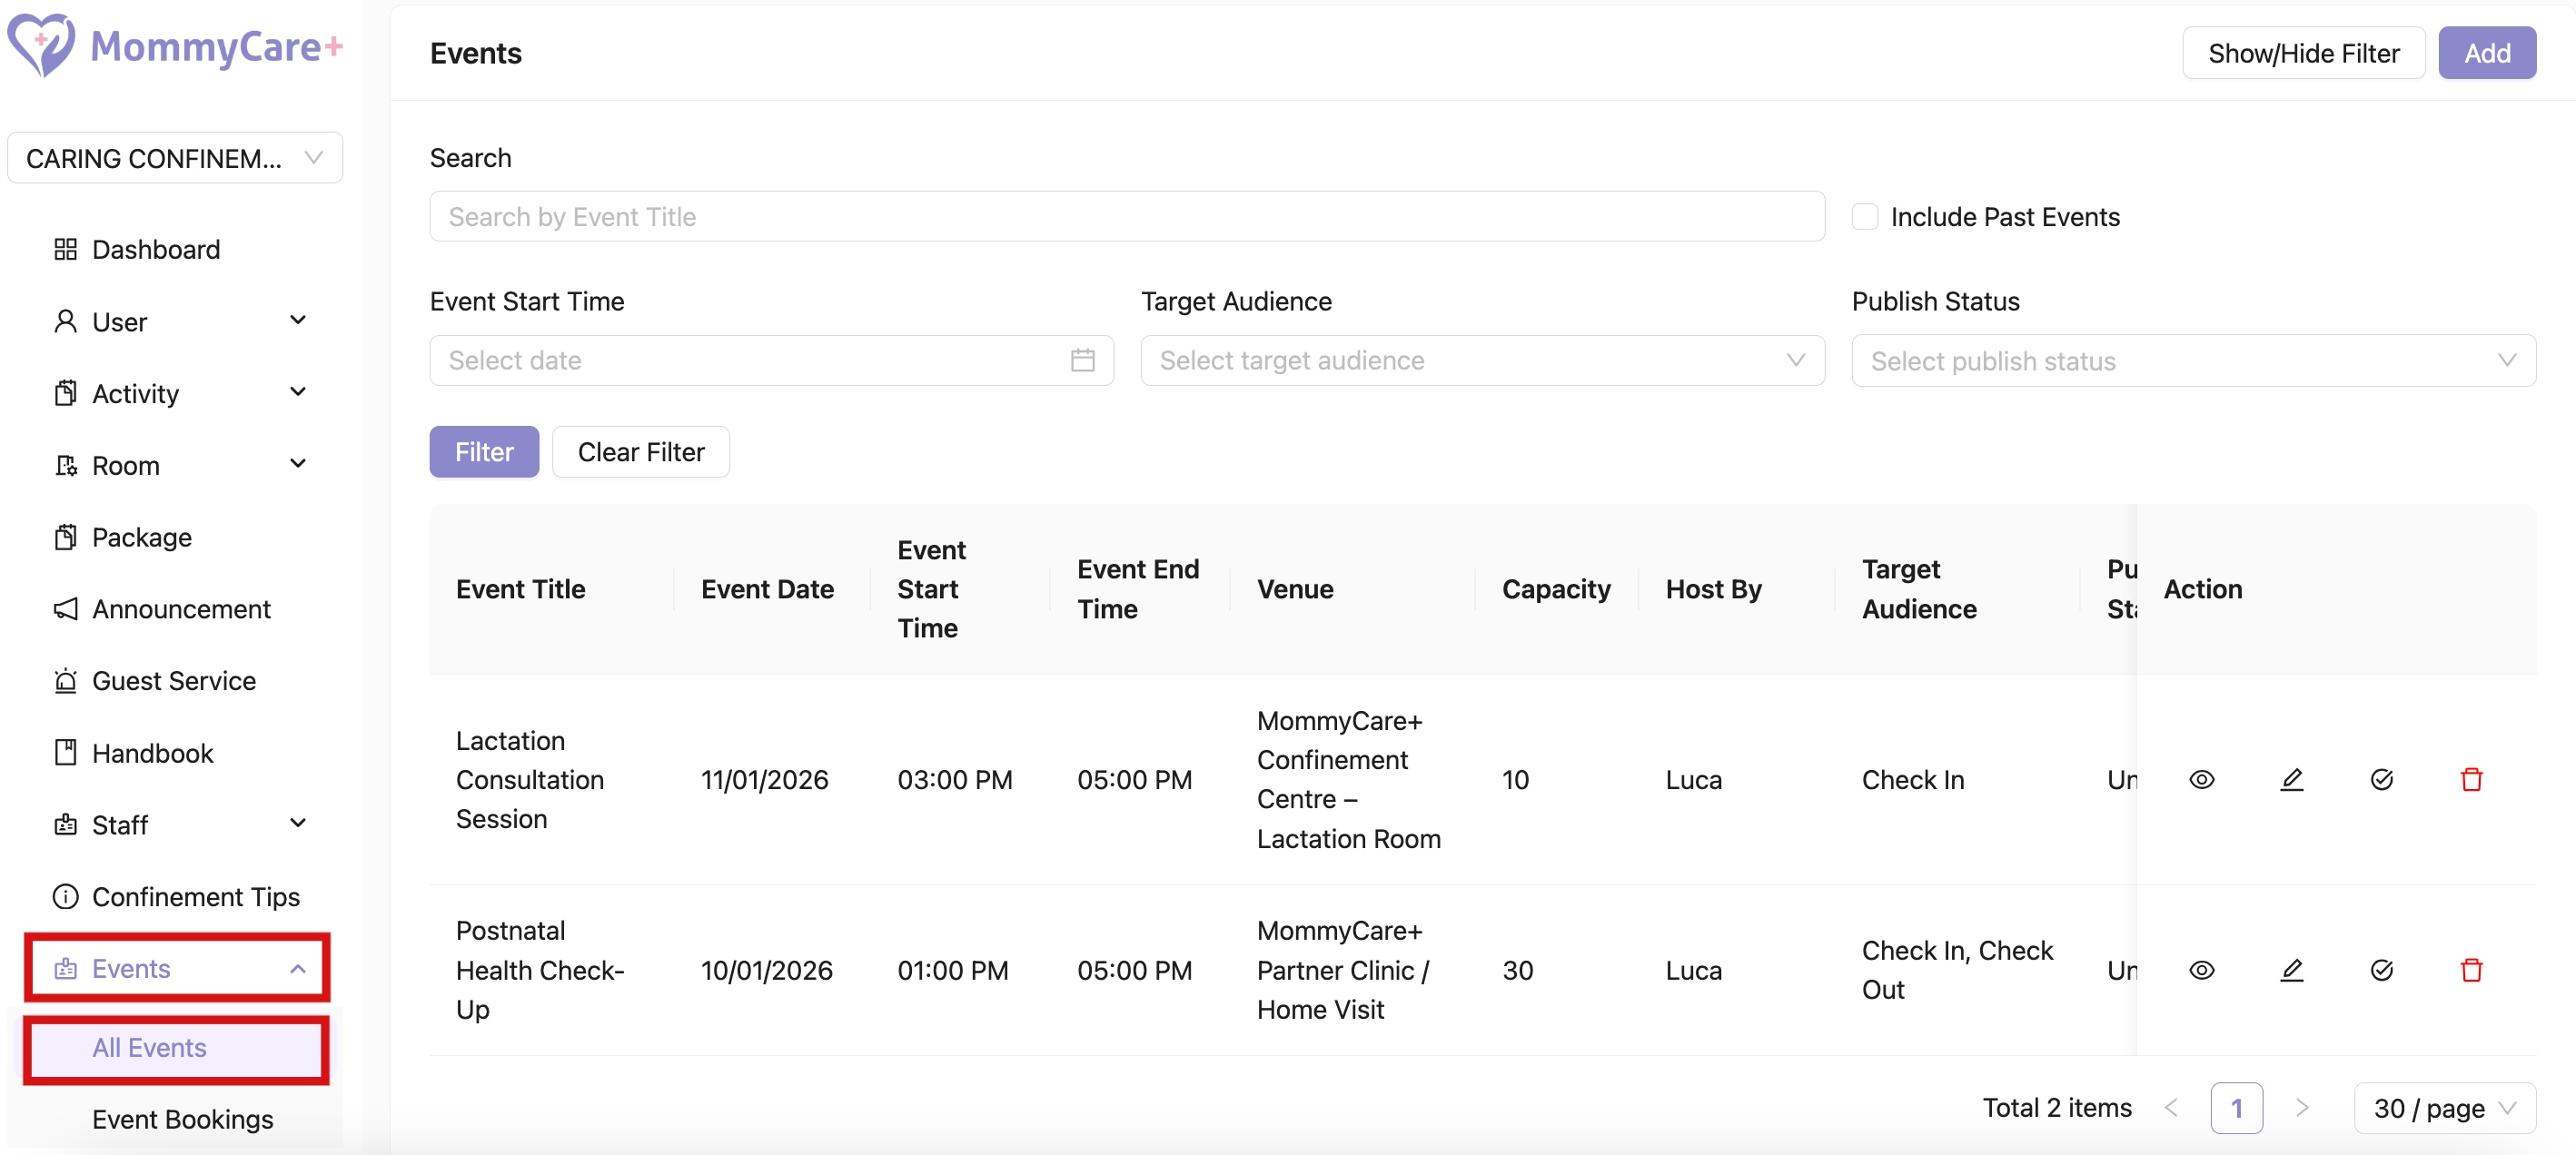
All Events
- Location: All Events
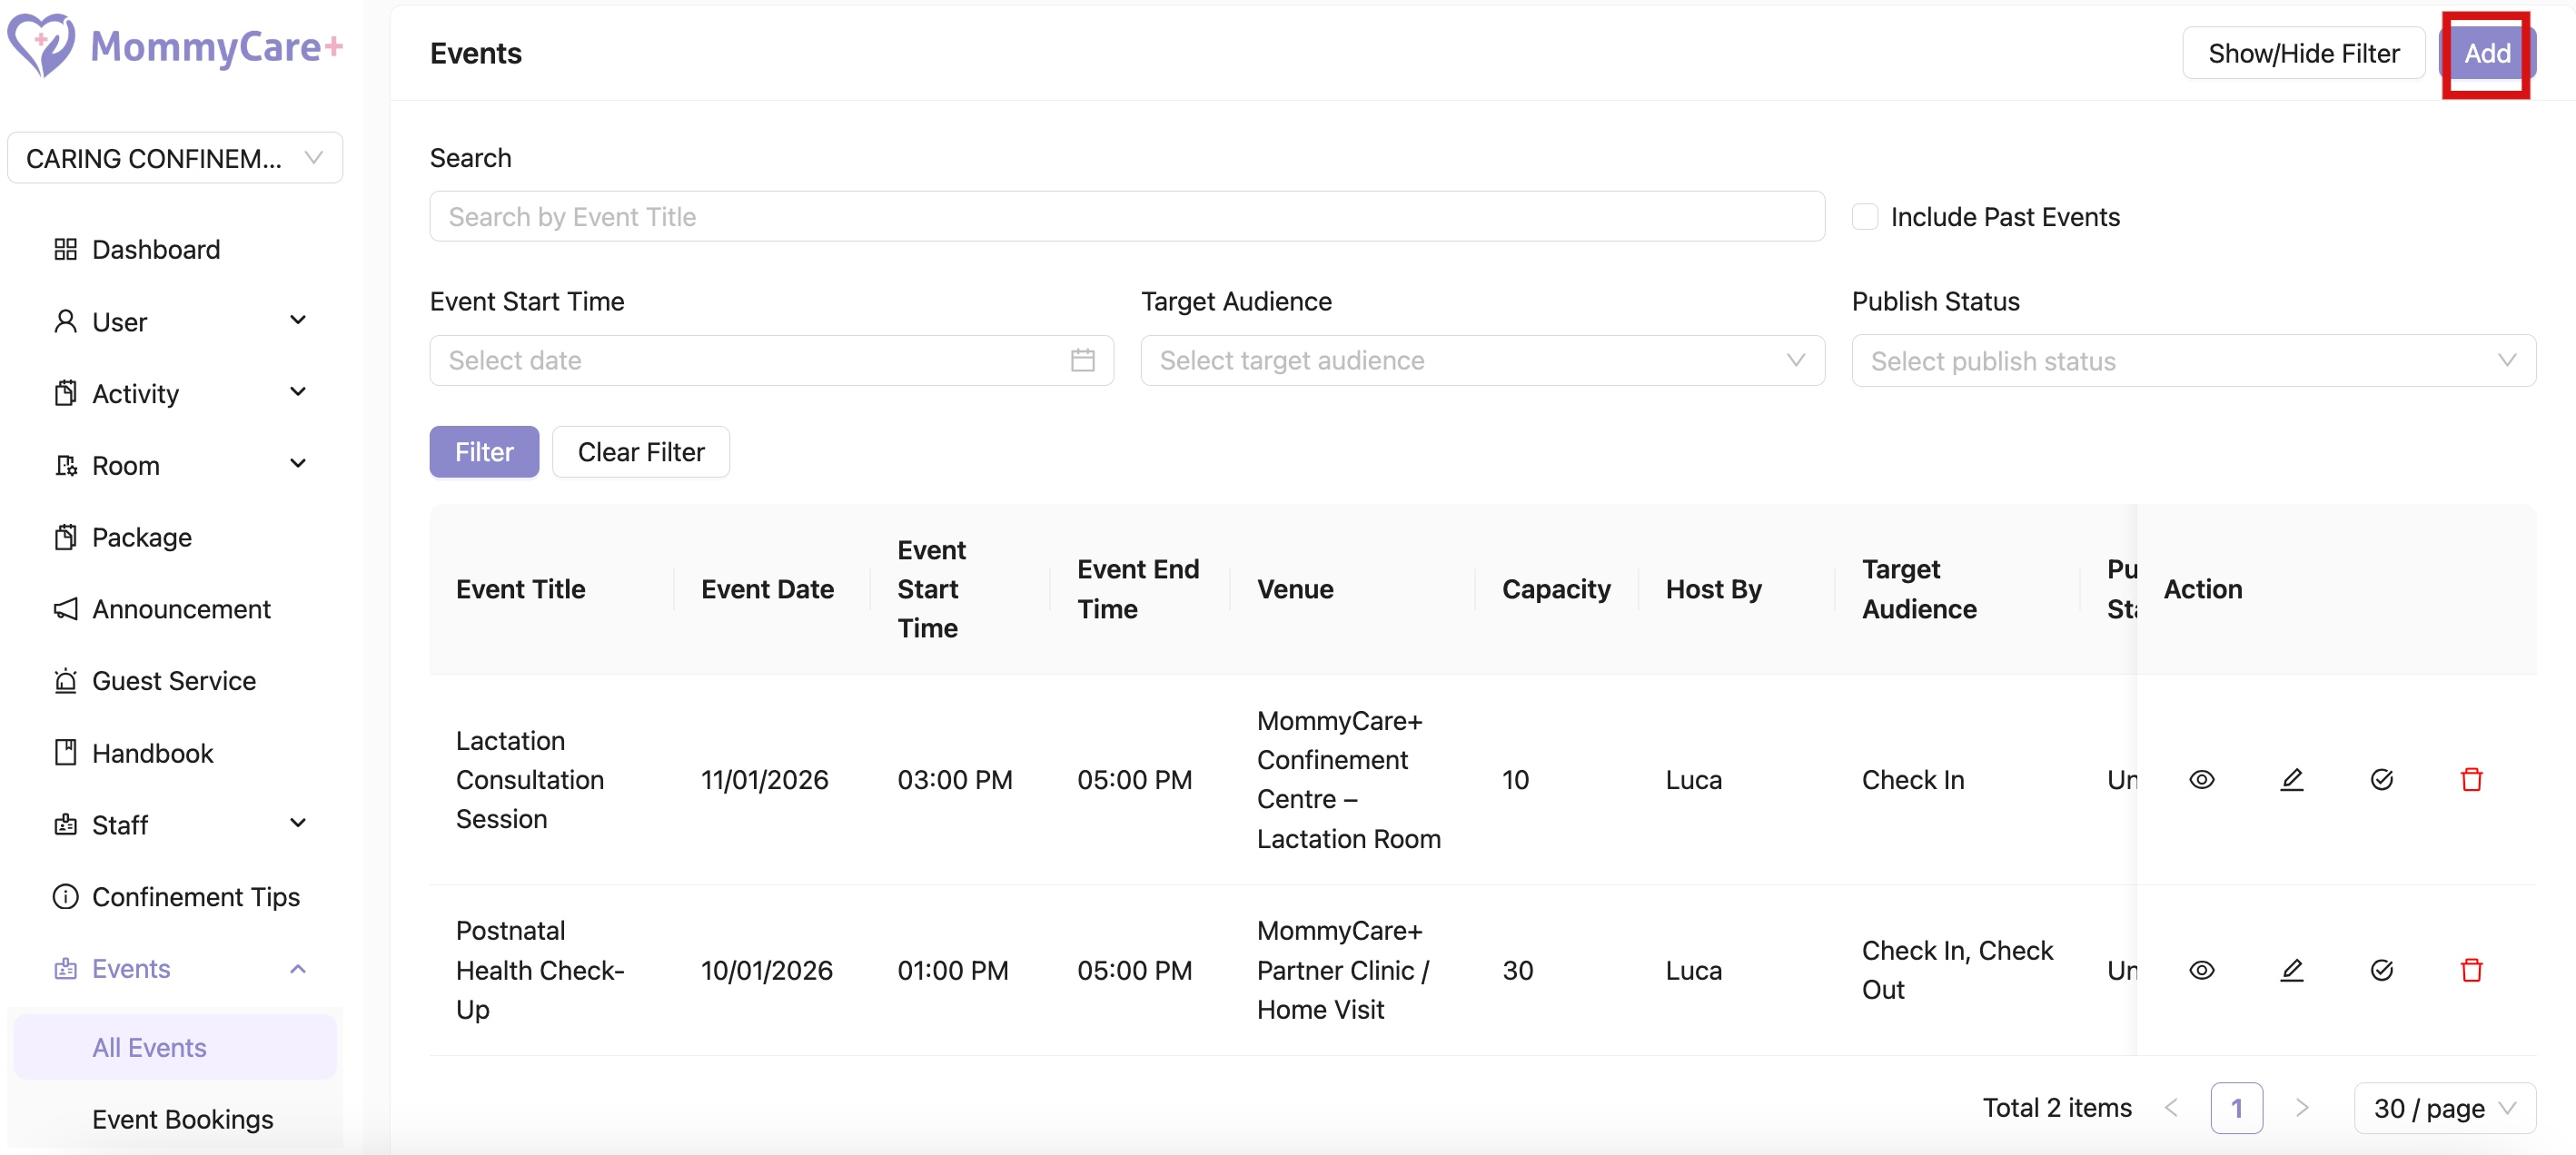
How to Create Event
- Click “Add”
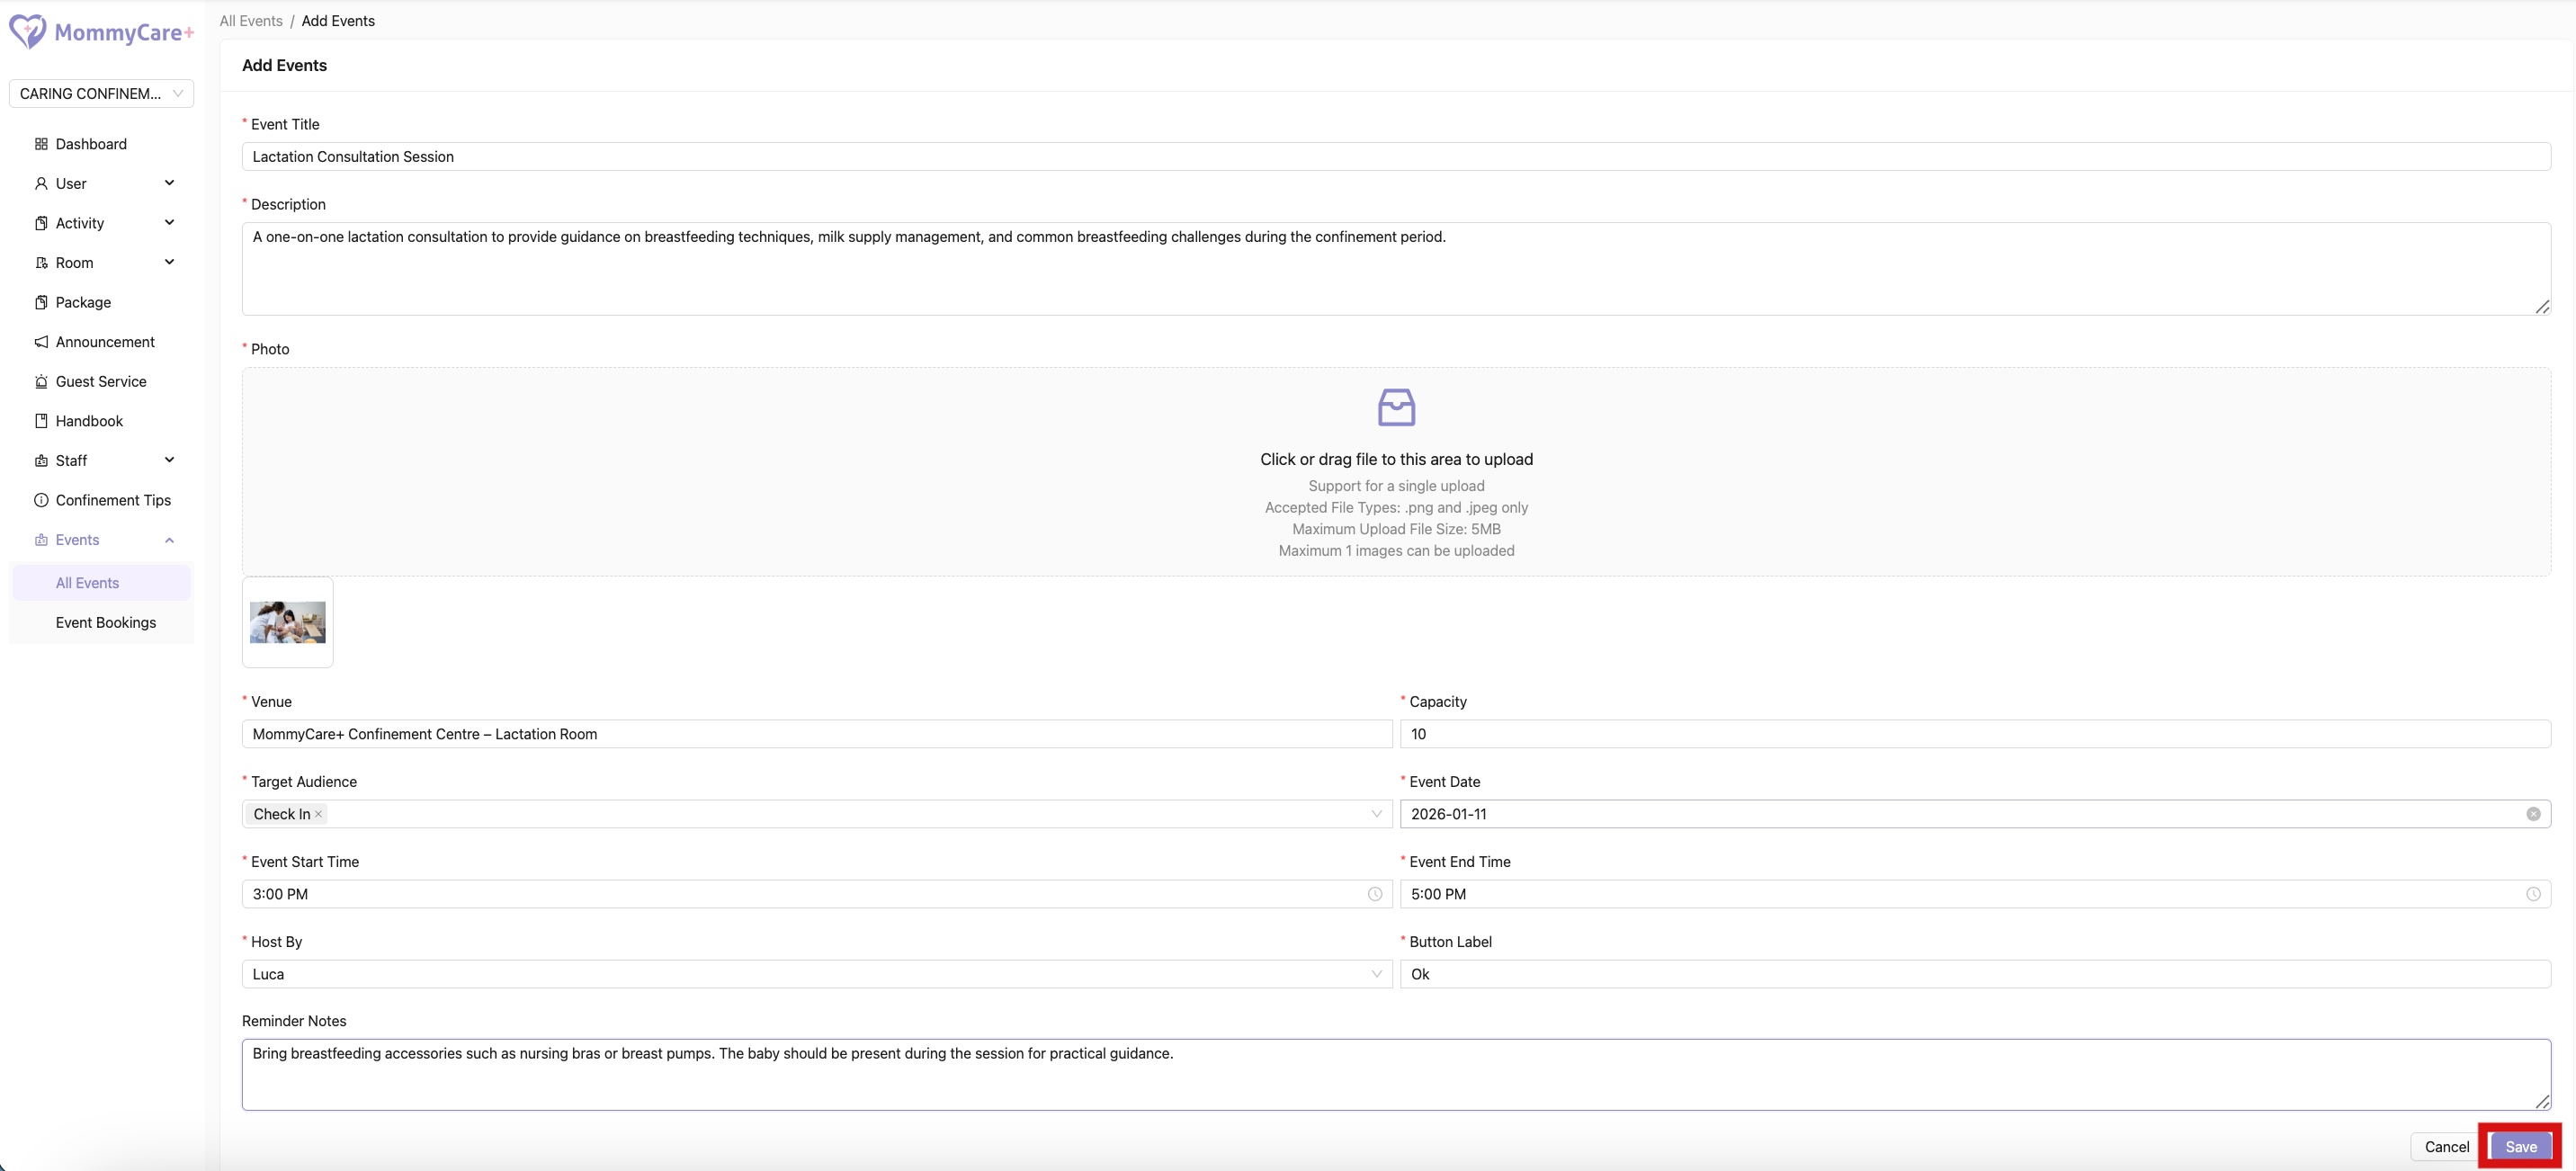
- Fill in the required fields, then click “Save”
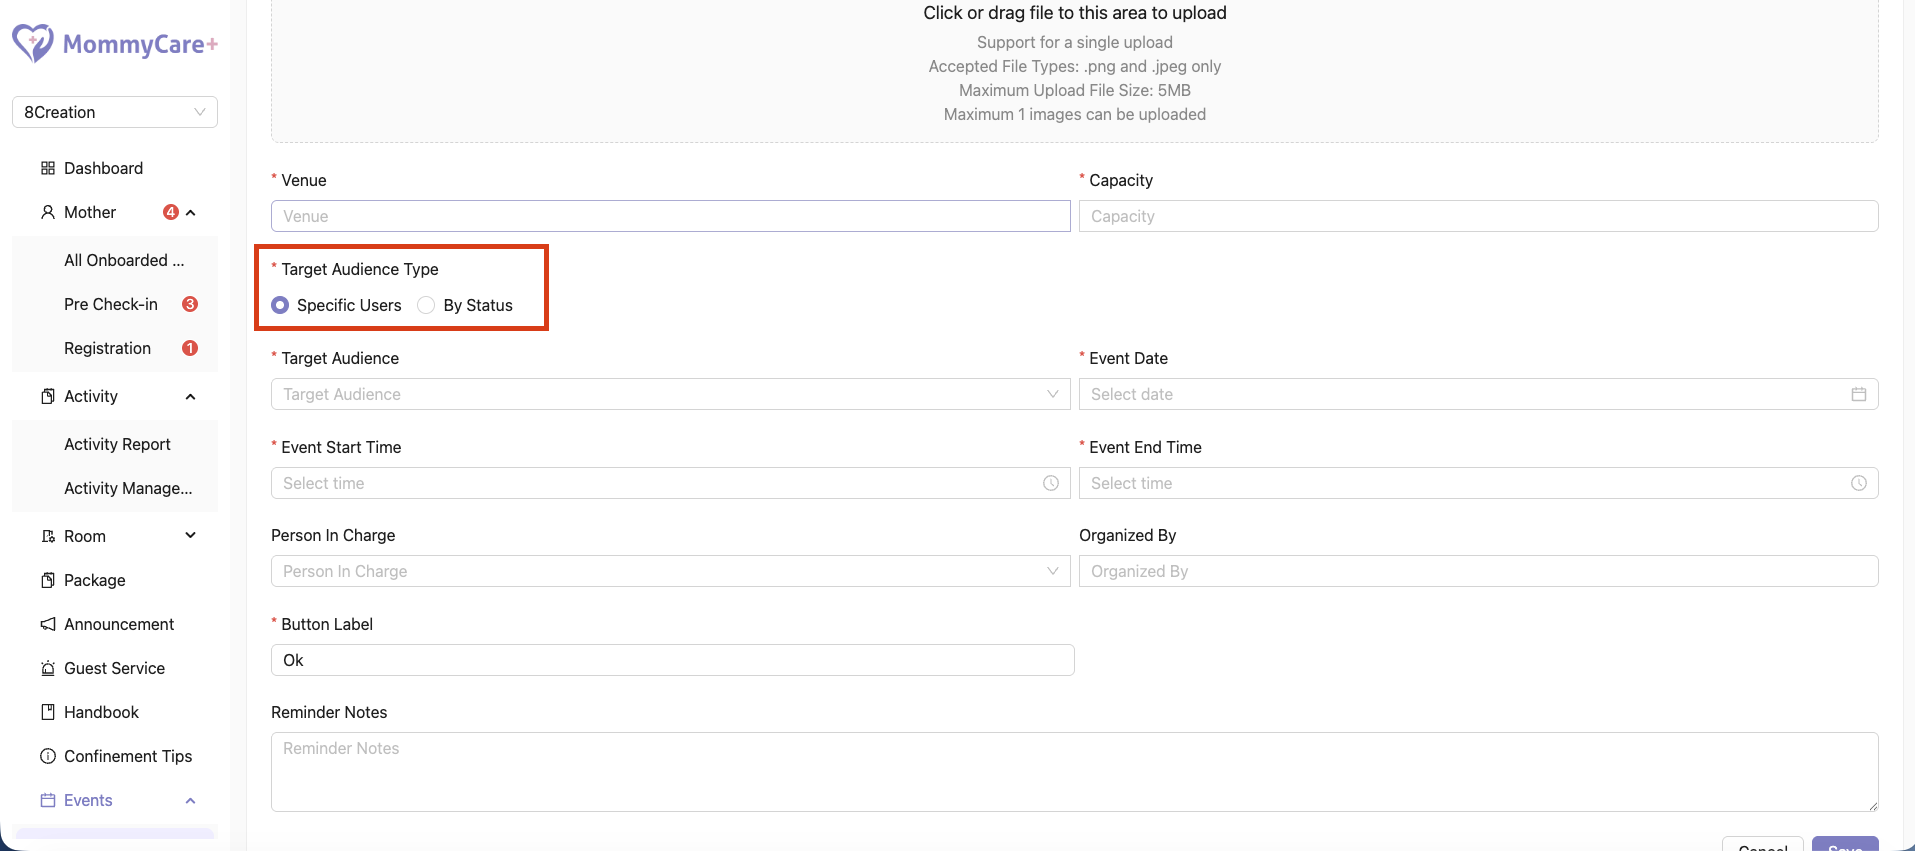
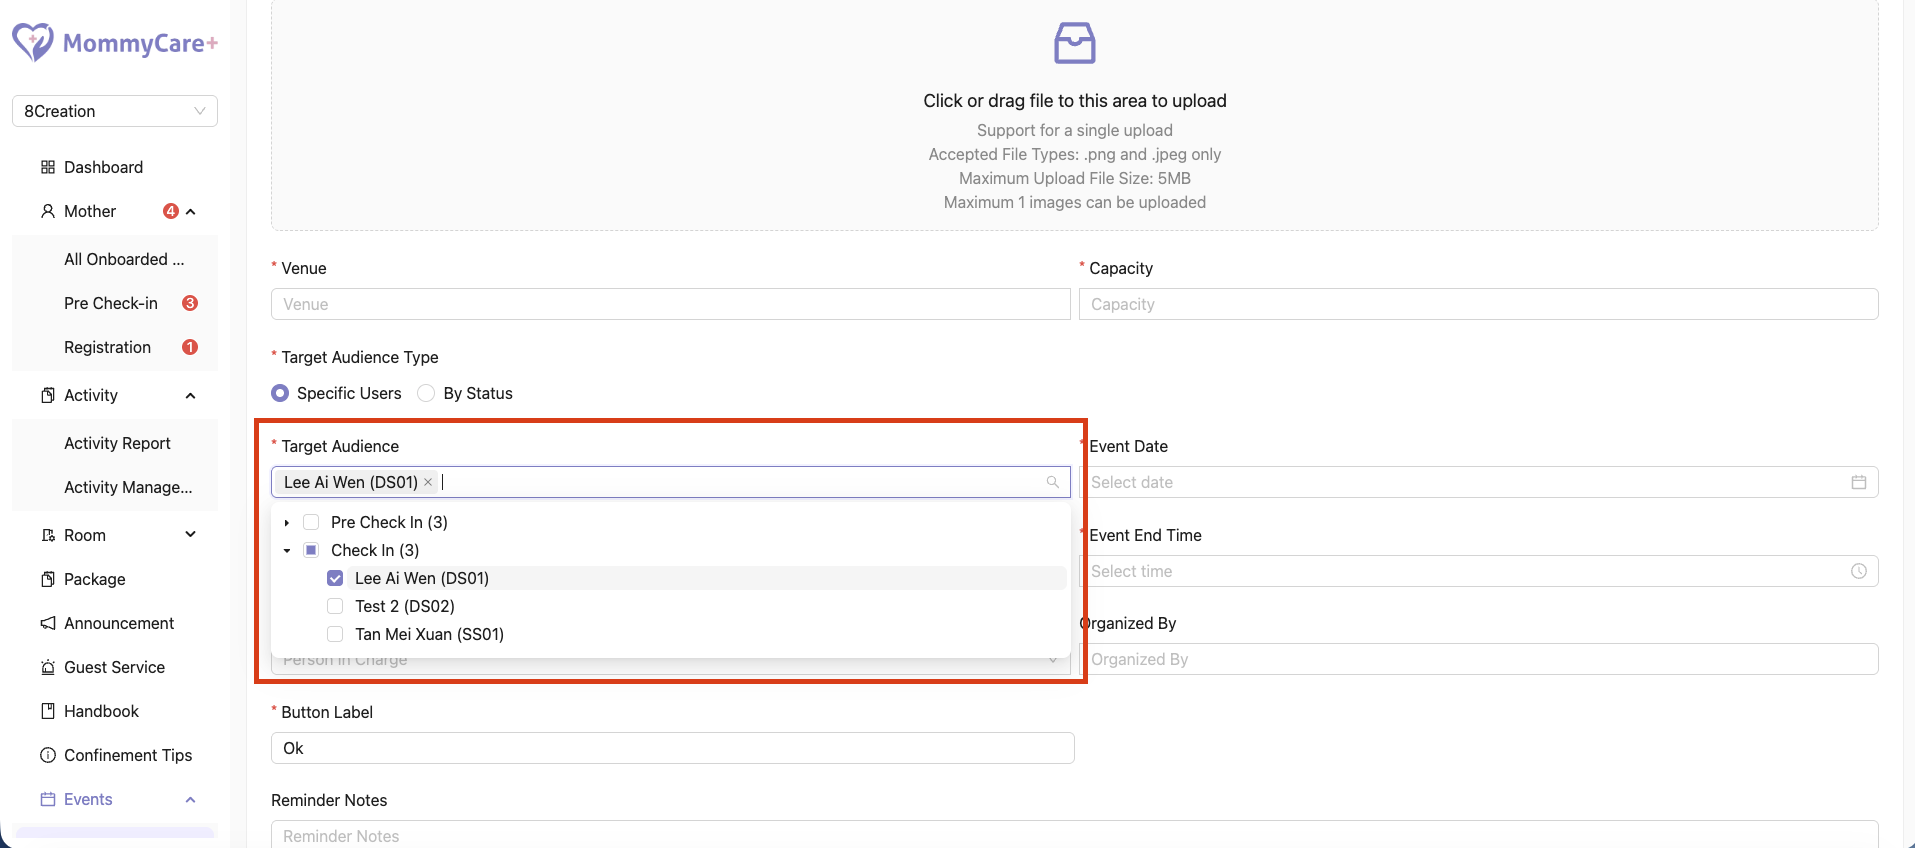
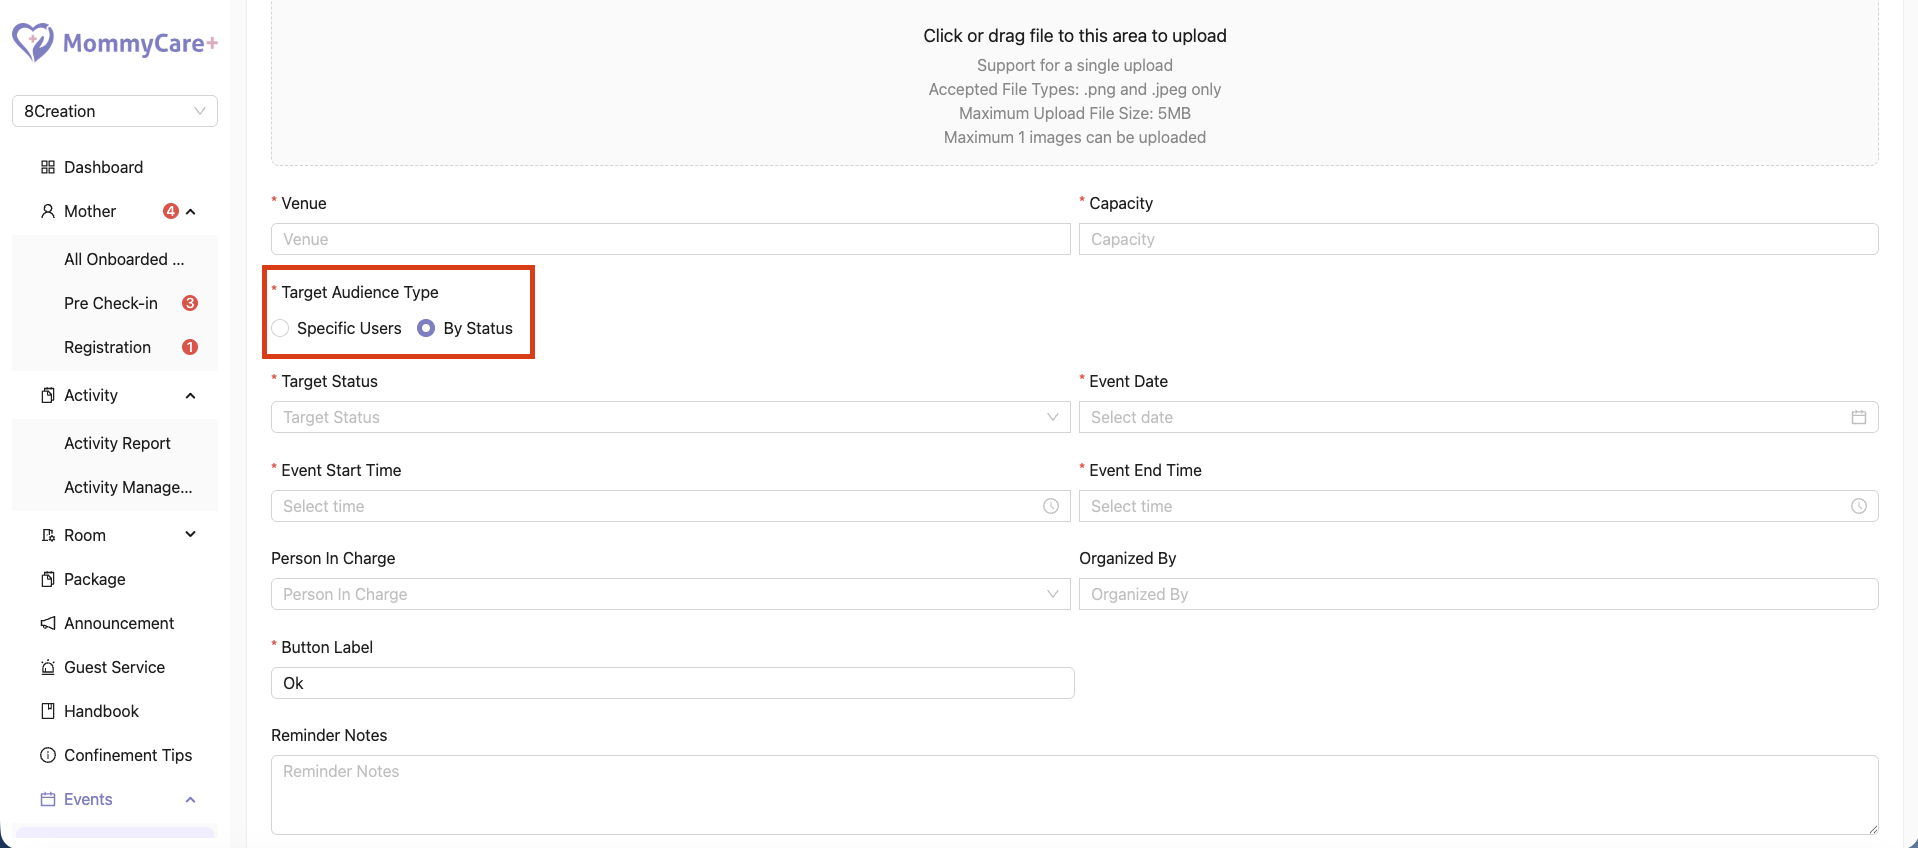
How to Create Event for Specific Users or Selected Status
- While creating an event, go to the Target Audience section
- Choose whether to target specific users or users with a selected status
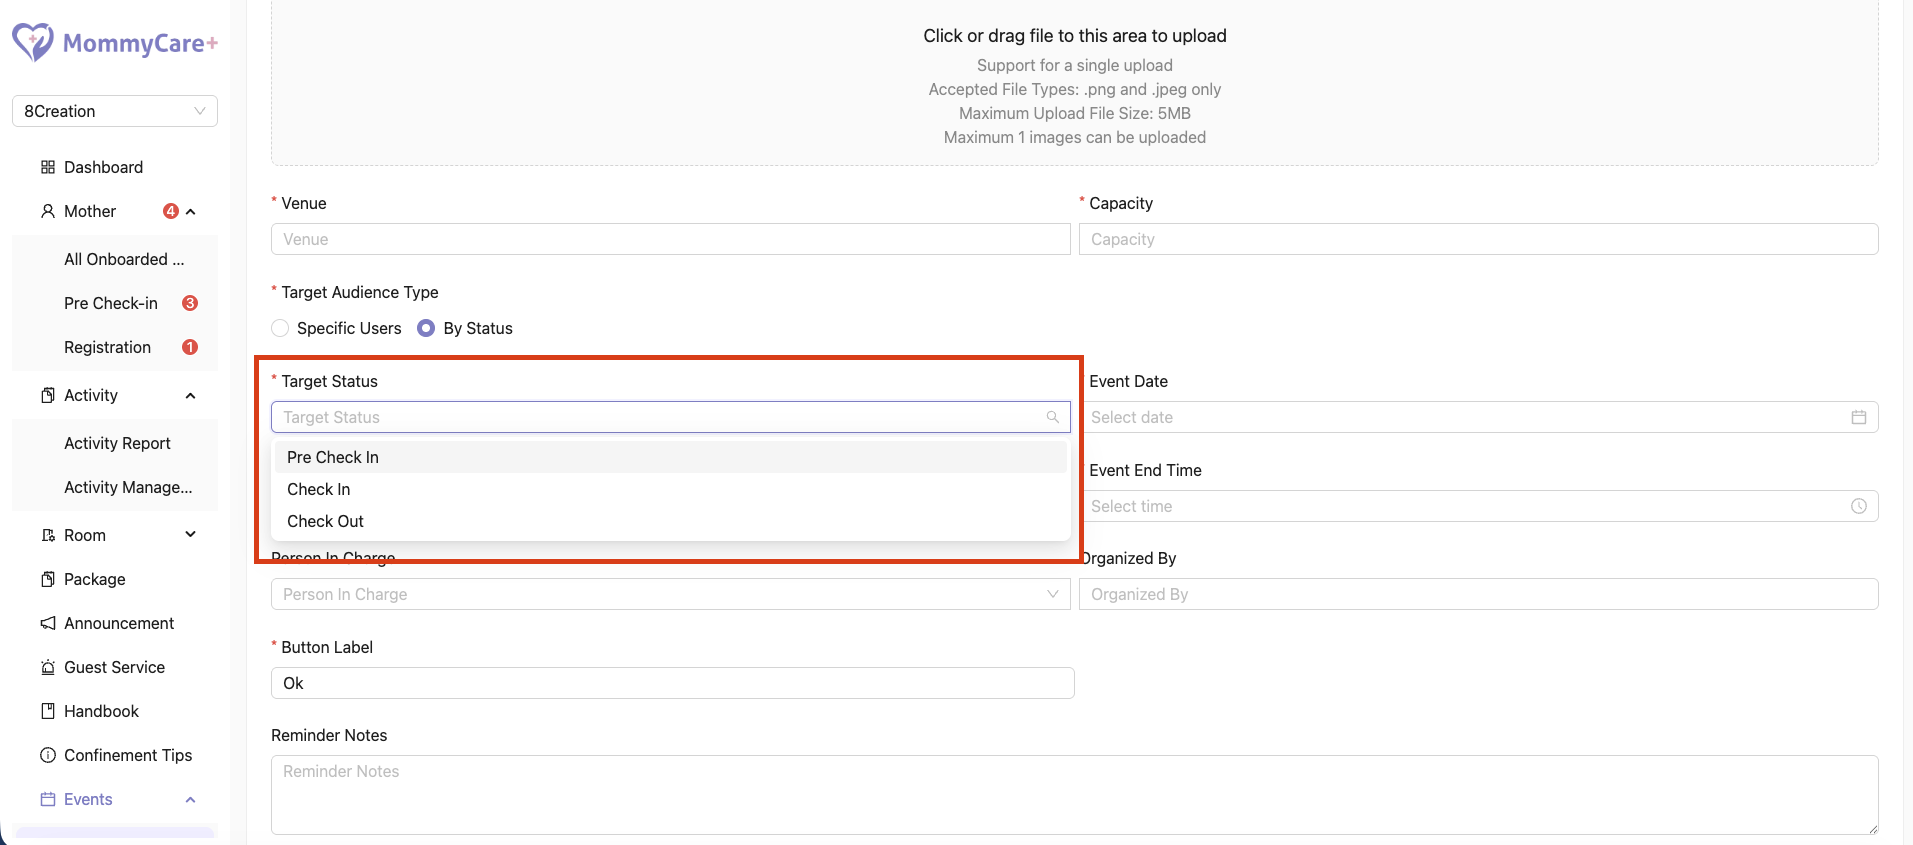
- If targeting by status, select the required admission status such as Pre Check-In, Checked In, or Checked Out
- Complete the remaining event details, then click “Save”
How to View Event
- Click on the View icon
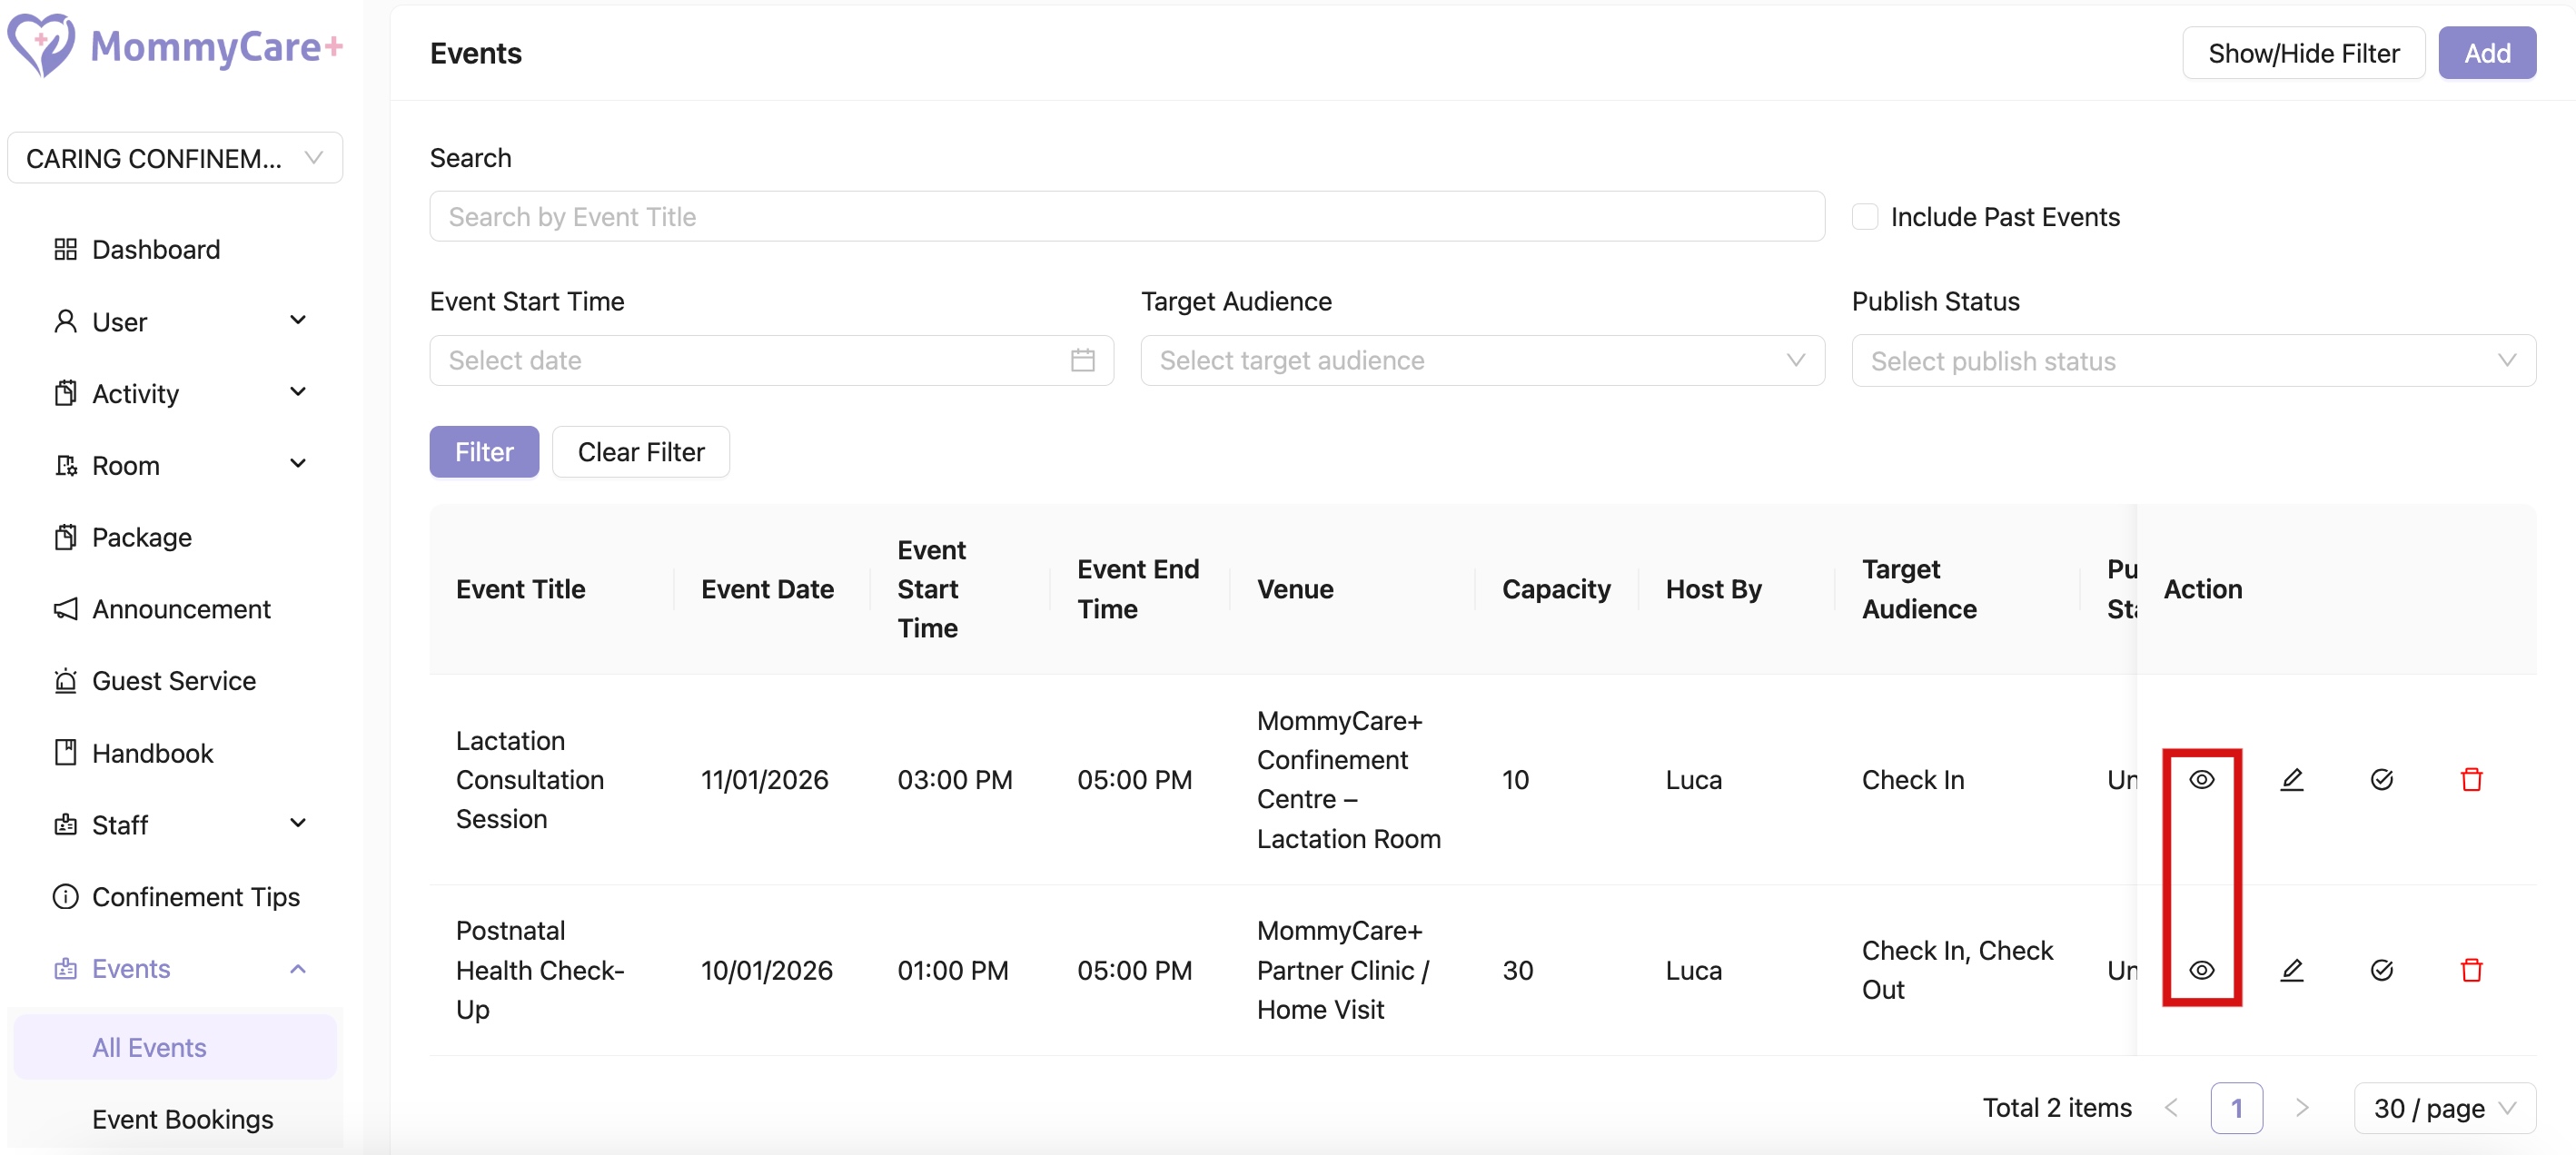
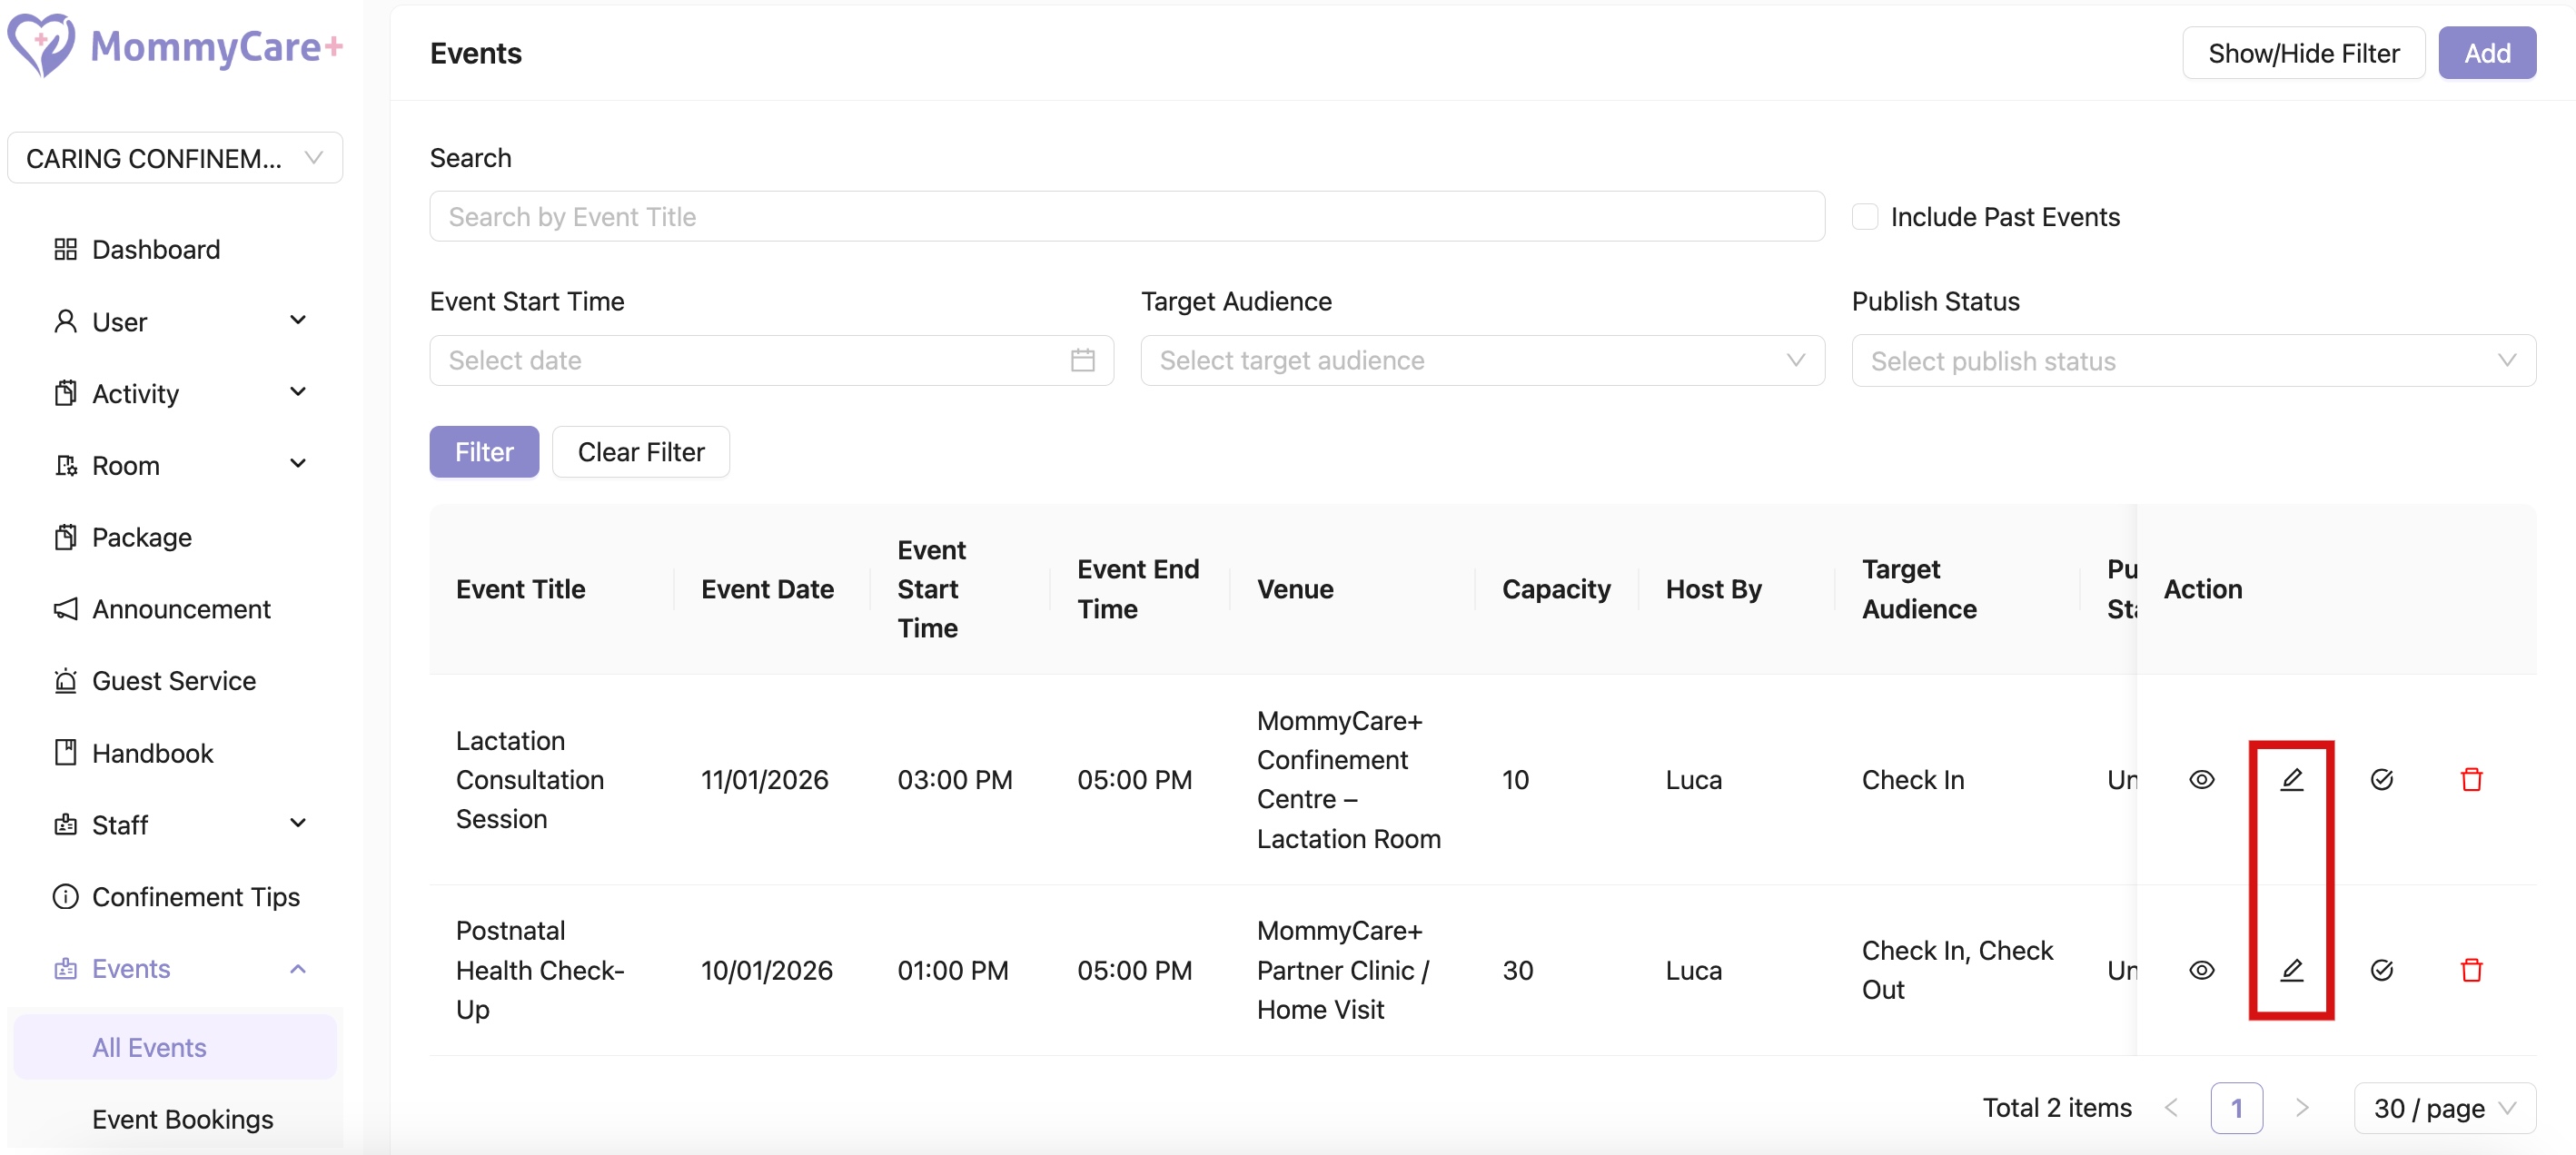
How to Edit Event
- Click on the Edit icon
- Make changes in the required field, then click “Save”
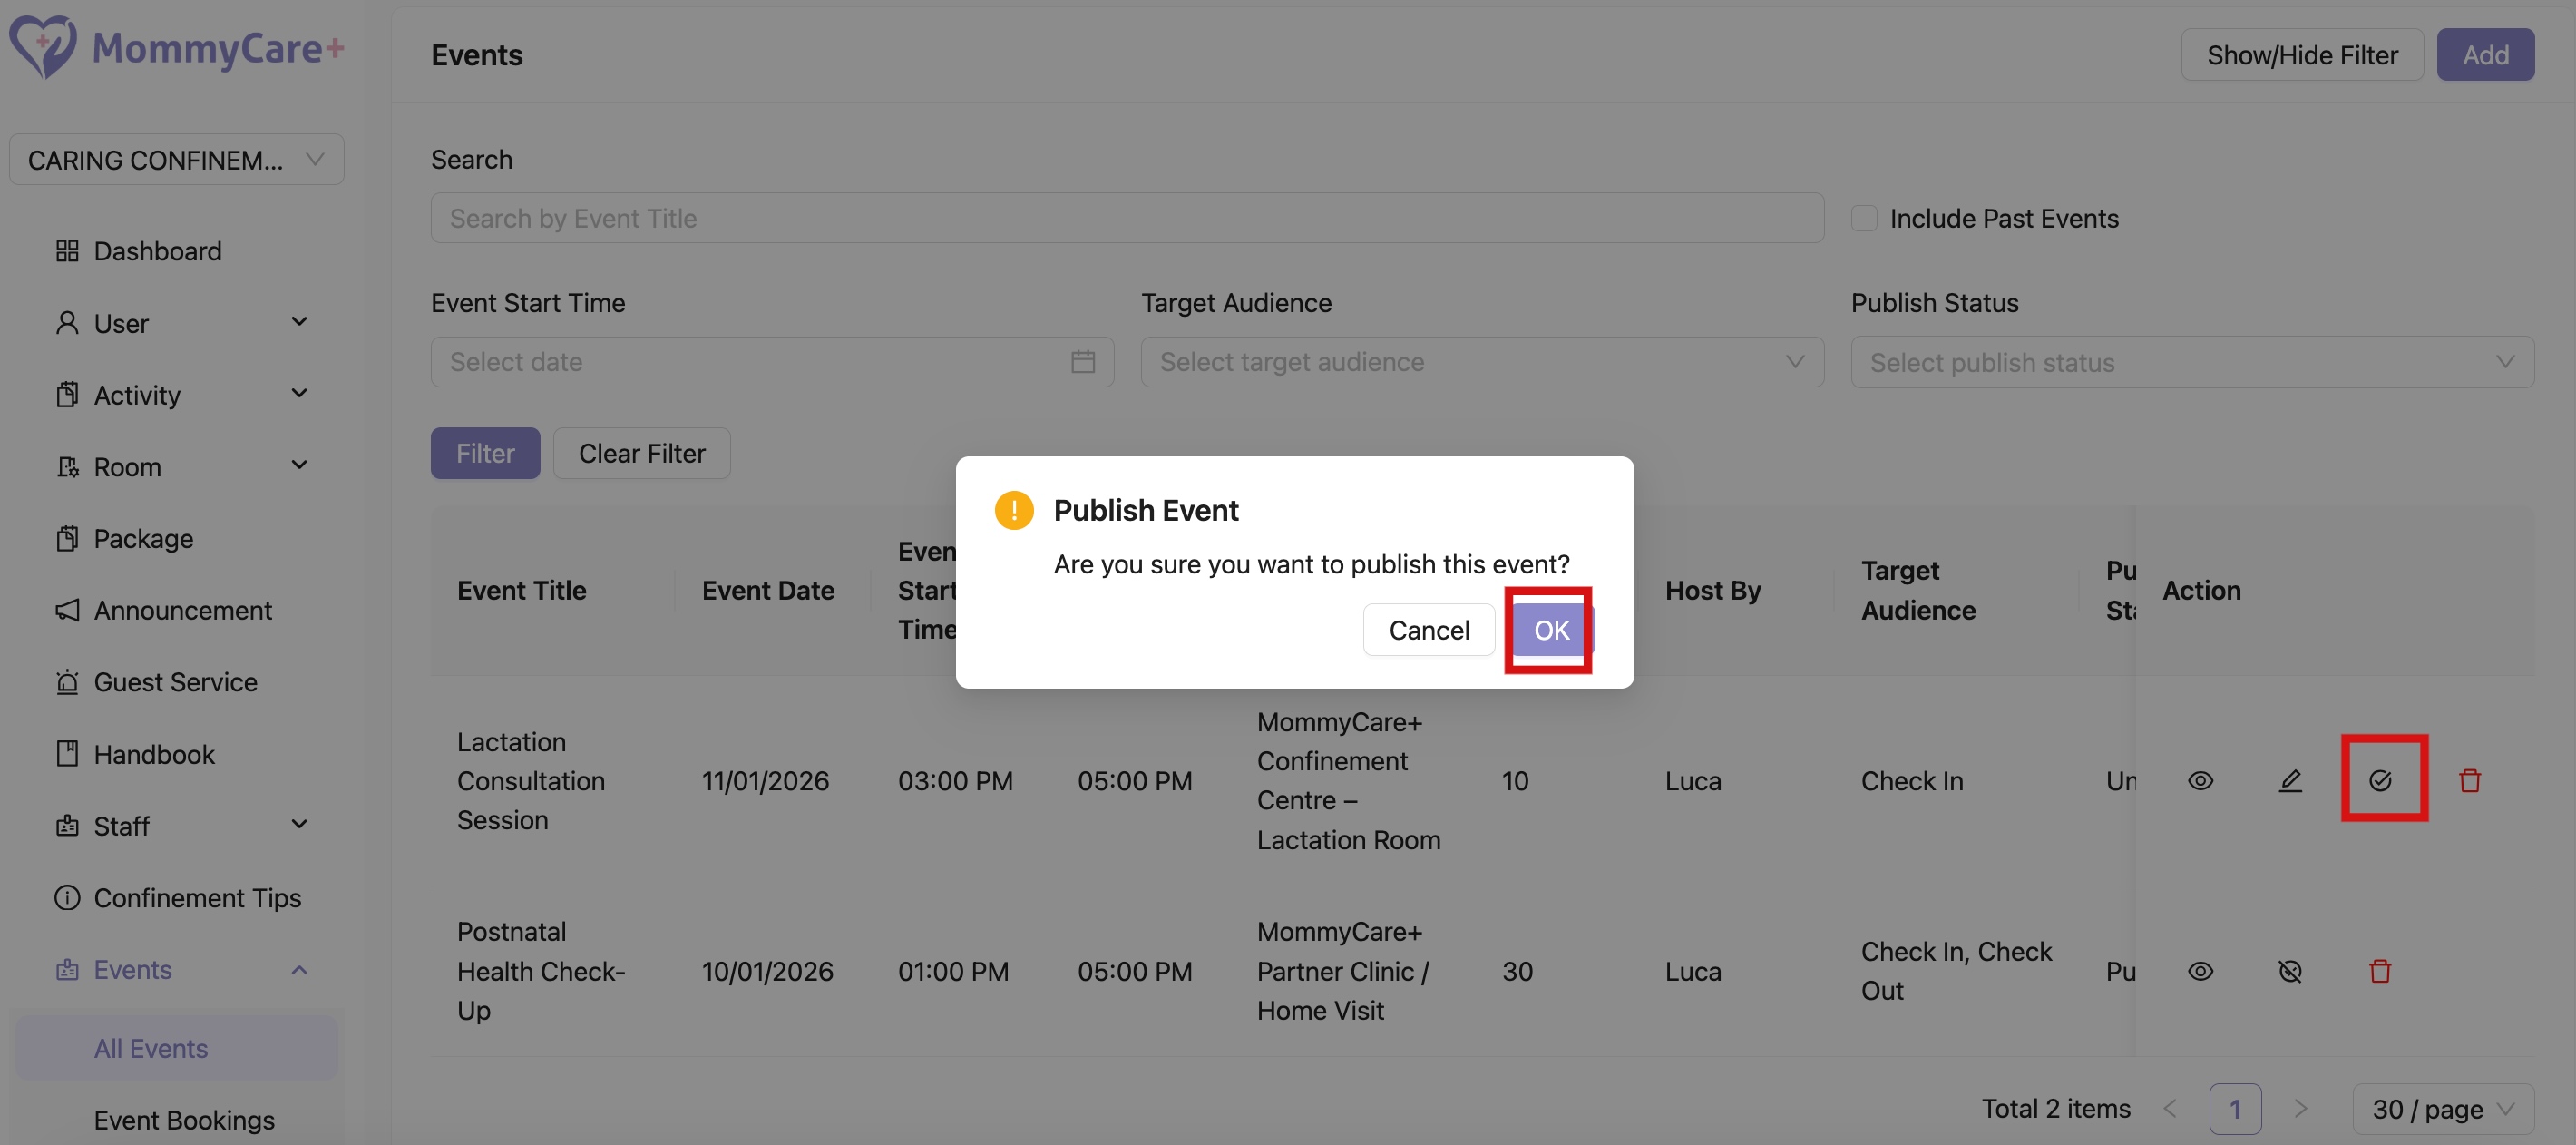
How to Publish Event
- Click on the Publish icon
- Click "OK"
- Status changed to “Published”
- Only published All Events will be visible to users
How to Unpublish Event
- Click on the Unpublish icon
- CLick "OK"
- Status changed to “Unpublished”

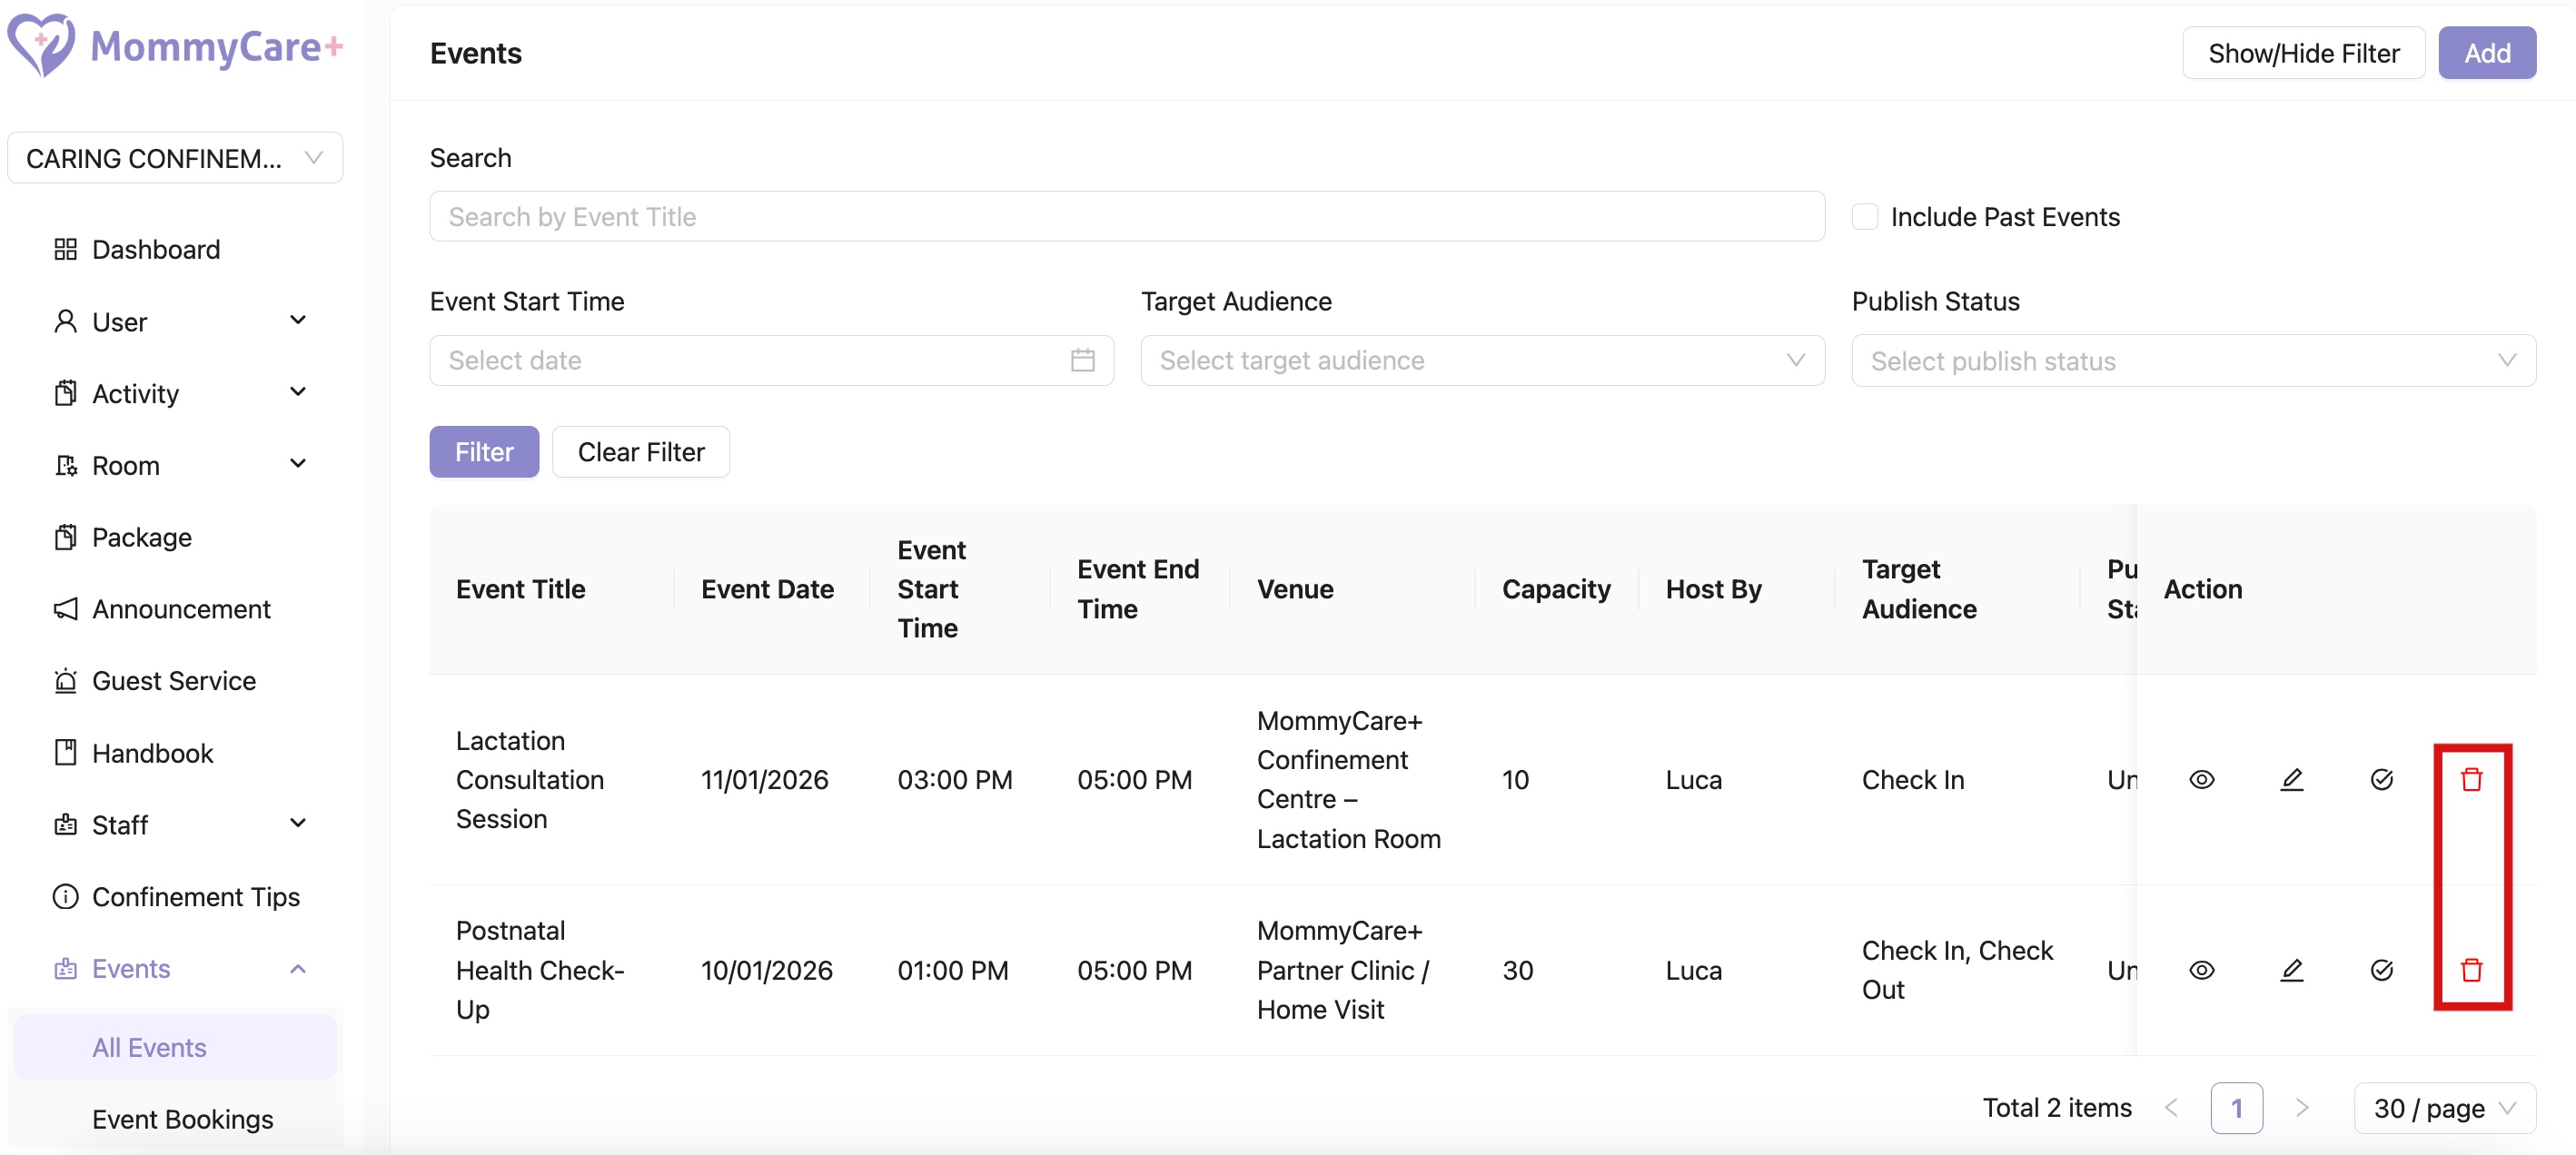
How to Delete Event
- Click on the Delete icon
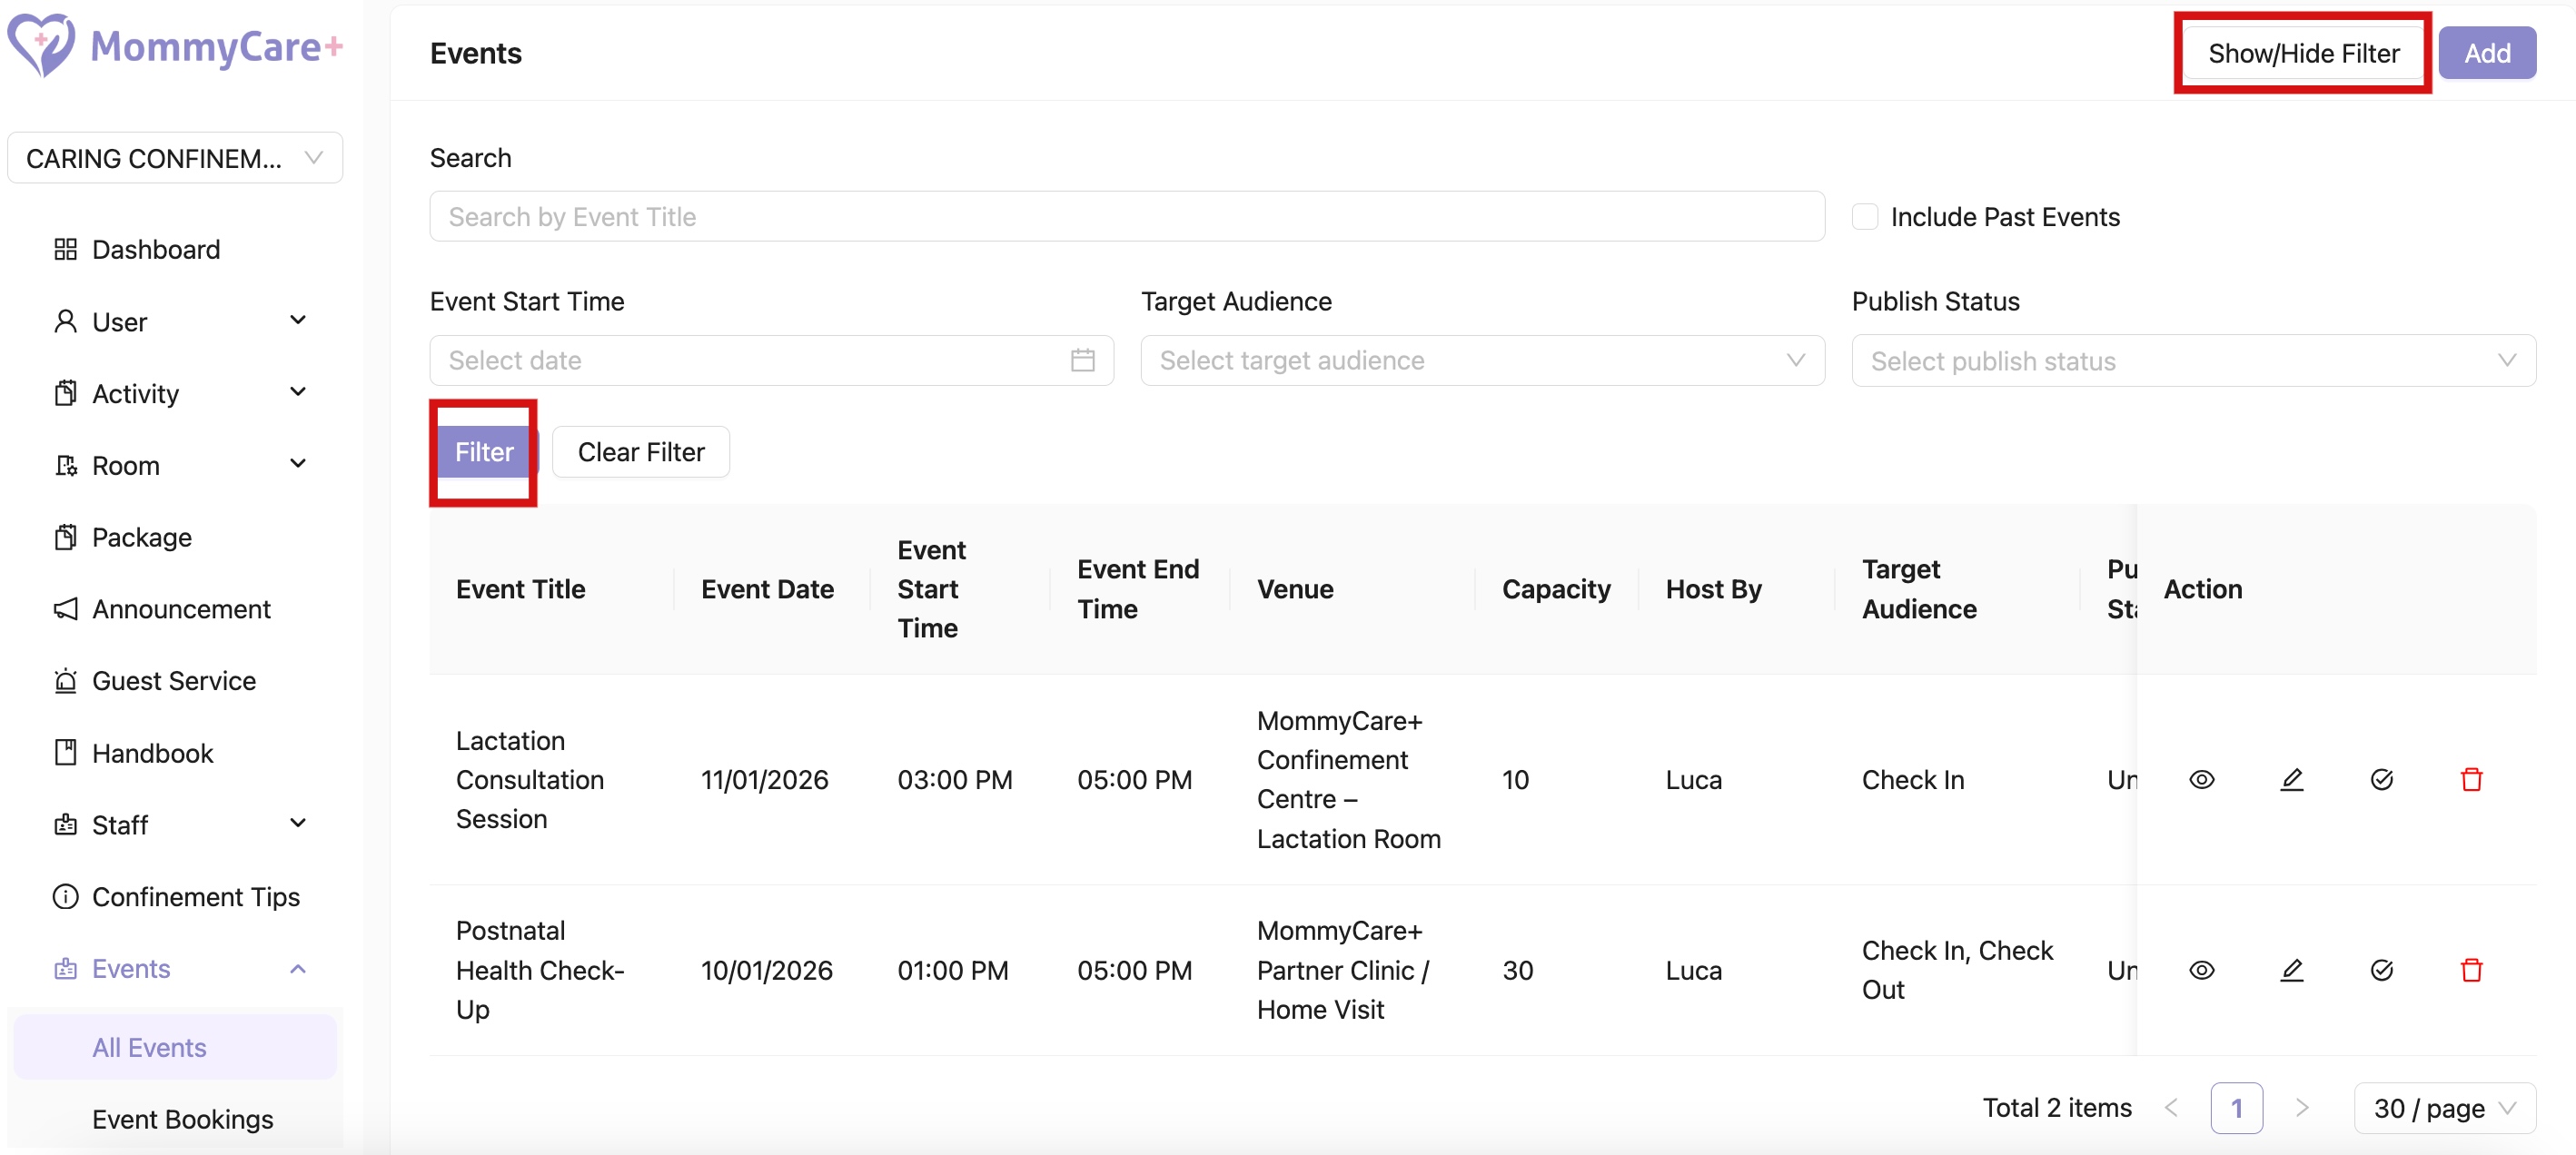
How to Filter Events
- Click "Show/Hide Filter"
- Fill in the field that you wish to filter, then click “Filter”
How to Check Back Past Events By Filter
- Click "Show/Hide Filter"
- Click "Include Past Events"
